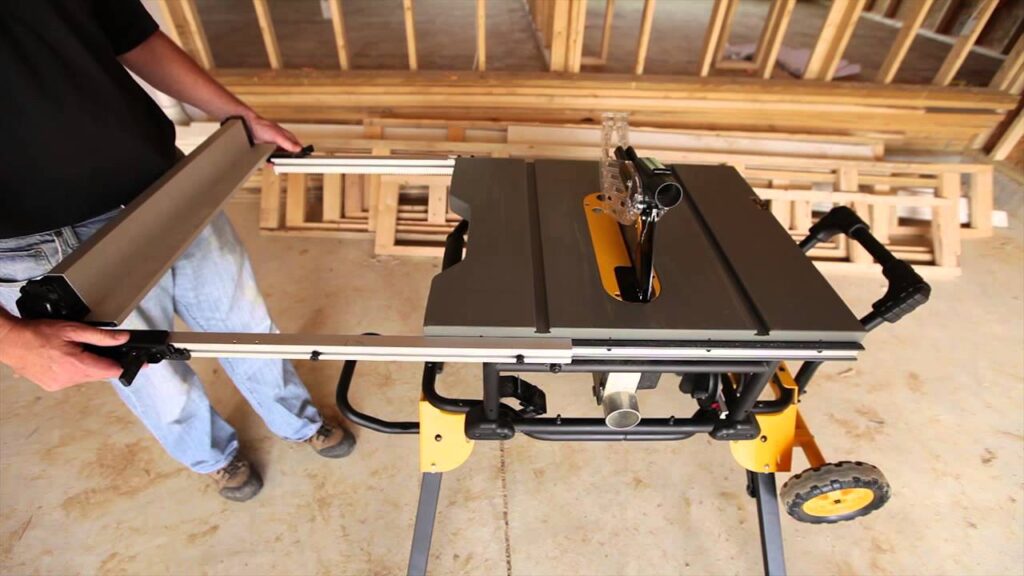
The portable table saw has become a must-have in many workshops, gaining popularity among woodworking enthusiasts. Unlike full-size table saws, portable ones often lack built-in platforms, requiring a more creative approach to support your workpiece and ensure precise cuts.
Given the variety of portable table saws available, many beginners are eager to explore woodworking with these versatile tools. However, not all portable models come with platforms or stands, which can limit their functionality.
If you’re reading this, you’re seeking guidance on how to attach a portable table saw to a bench. This process can expand your workspace and significantly enhance safety, especially when compared to using the table saw on its own.
Modern portable table saws boast various safety features such as digital fences, scoring blades, sliding tables, innovative braking technologies, and riving knives. These advancements have made working with portable table saws safer than ever.
Nonetheless, we always recommend using a stand, bench, or table when working with a portable table saw. With that in mind, here is a comprehensive guide on how to attach a portable table saw to a bench.
DIY Plywood Platform:

For those facing space constraints in their workshop or lacking the time to construct a dedicated portable table saw stand, there’s a practical solution we’d recommend.
Instead of grappling with how to connect your portable table saw to a stand, consider attaching a ¾-inch plywood platform with a central hole.
This straightforward platform allows you to secure your table saw to sawhorses by using screws or clamps. Not only does it offer a wide and stable base, but it also elevates the saw to a convenient working height.
The hole at the base of the plywood platform serves a dual purpose: it allows sawdust to fall through, preventing overheating and keeping your table saw running smoothly.
Moreover, this convenient platform is easy to store. Simply drill a couple of ½-inch holes on one side of the platform and attach some hooks to your workshop or garage wall. This way, you can store the platform when it’s not in use, saving valuable space.
Constructing a Plywood Platform:
- Begin by cutting the plywood platform a few inches larger in both width and length than your saw’s base. Then, create a 1 square foot hole in the platform’s center.
- Position your saw at the center of the plywood and mark where the mounting holes should go. Proceed to drill ⅛ inch holes through the plywood at each marked spot.
- Flip the platform over and drill 1-inch diameter holes, making them about ¼ inch deep to create recesses for the carriage bolt heads. Following this, drill 5/16-inch holes in the middle of these recessed areas.
- Insert the carriage bolts and then slide the saw over them (use spacers if included with the saw.) Finally, secure the saw to the platform using washers and nuts.
Bottom Line:
You’re now equipped with the knowledge of how to connect a table to your portable table saw.
By following these straightforward instructions for affixing a table to your portable table saw, whether you’re a seasoned pro or a budding enthusiast, you can maximize the utility of your portable table saw.
FAQs:
Is a Table Saw Stand Necessary?
A table saw requires a sturdy stand to support your workpiece as it moves over the blade and off the table. To achieve the best quality cuts, consider using a zero-clearance throat plate, which is an oval-shaped plate that fits closely around the blade.
What is the Best Saw for Cutting?
Ideal for swiftly and precisely cutting wood, a circular saw is equipped with a rear handle with a trigger and a top handle for stabilizing the saw. The round blade extends from the underside, and its depth can be adjusted using a movable shoe.
What is a Woodworking Bench Called?
A woodworking workbench is a specific table used by woodworkers. It has a flat, sturdy work surface and one or more methods for securing the material being worked on. It typically includes both a front (left) vise and a tail (right) vise.
Related Posts:
